How to activate your new Office Timeline Add-in license
Overview
This article explains how to activate Office Timeline using your Office Timeline account.
Sign in to your Office Timeline account to activate your Lite, Plus, or Expert subscription and unlock your premium features.
In this article:
A) Activation for Single Users
B) Activation for Multi-User Accounts
Activation for Single Users
If you’re activating Office Timeline for yourself, just sign in to your account from the add-in. Once signed in, your subscription automatically activates and unlocks your premium features.
Step 1: Open Office Timeline to Sign In
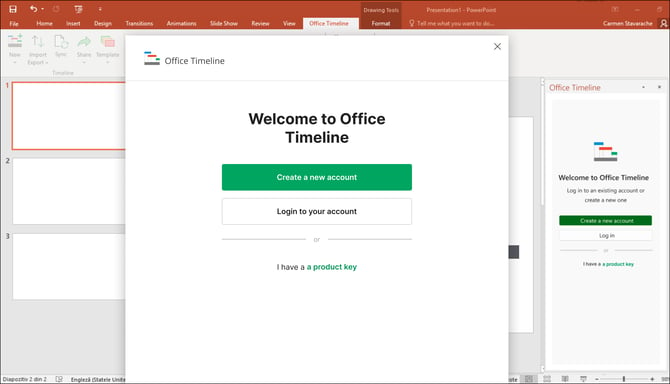
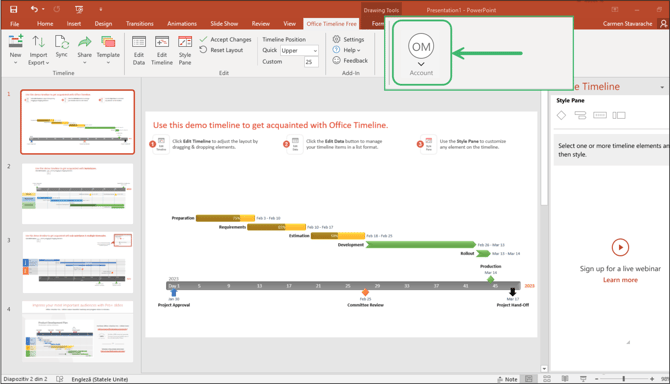
If Office Timeline is already installed, simply open PowerPoint, go to the Office Timeline tab on the ribbon, and select Account to sign in.

Step 2: Enter your Office Timeline Account Credentials
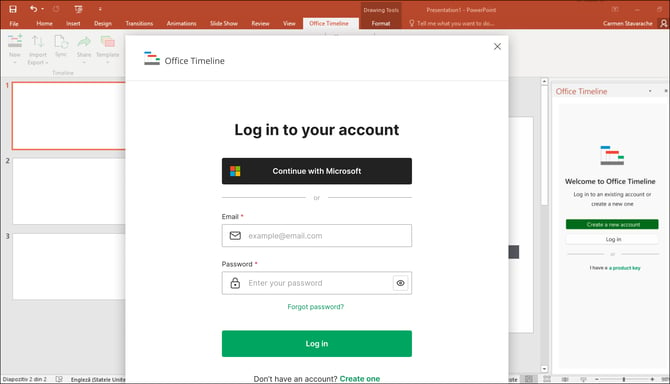
When prompted, enter the email and password associated with your Office Timeline account.
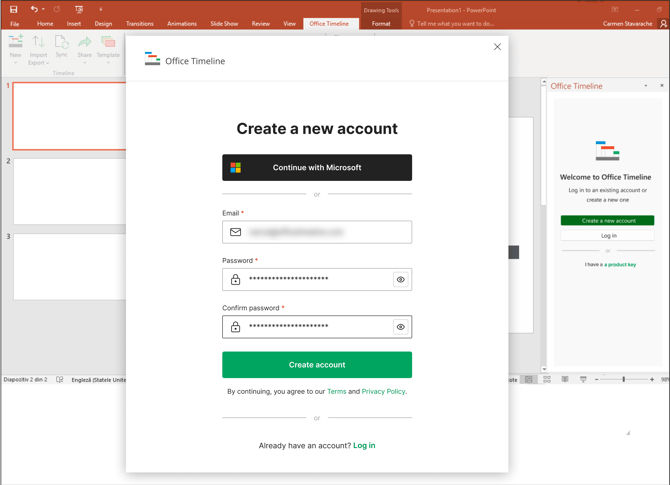
If you don’t have an account yet, select the Create Account option to register.
Step 3: Confirm Activation and Begin Creating Timelines
After signing in, Office Timeline will automatically verify your subscription and unlock your Lite, Plus, or Expert features.
Activation for Multi-User Accounts
For teams with shared subscriptions, license management is handled on the Office Timeline Subscriptions Page. License Managers allocate licenses to users, and each user activates their subscription by signing in through the Office Timeline add-in.
License Managers
Step 1: Sign in to the Subscriptions Page
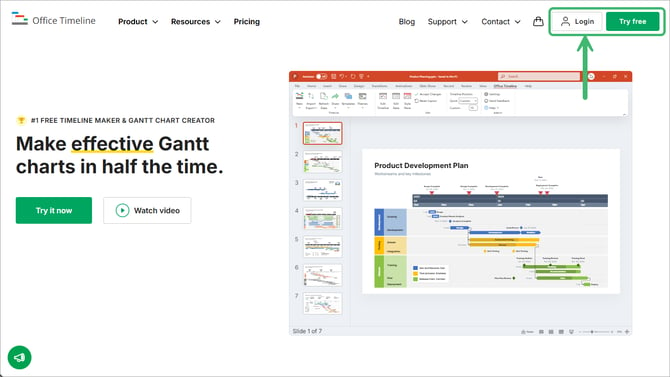
Visit the Office Timeline homepage and sign in using your license manager credentials.
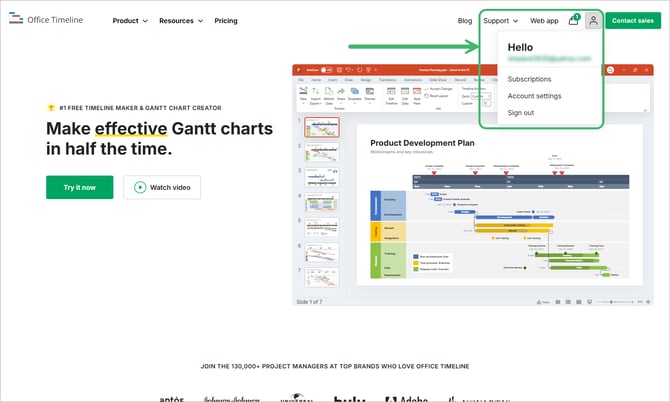
Navigate to the Subscriptions page to manage your account and licenses.
Step 2: Assign Licenses to Users
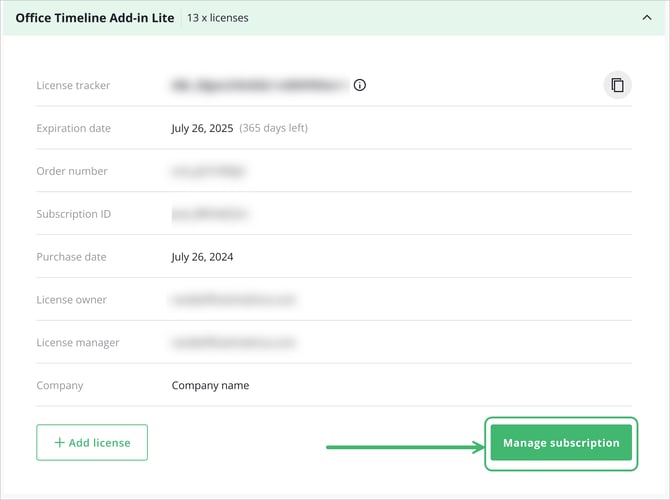
From the Subscriptions page, expand the subscription you want to manage. Click Manage Subscription.
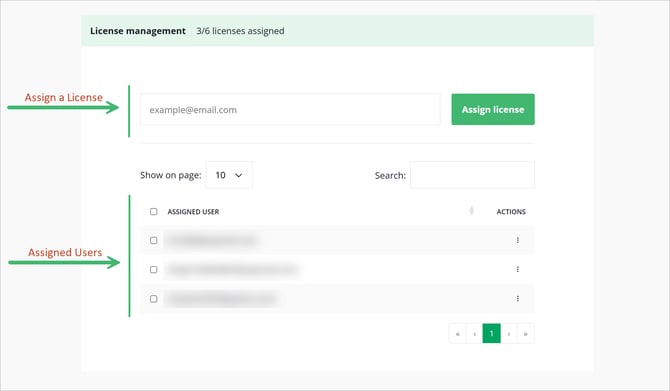
Scroll down to License management. Enter an email address and click Assign license. Here, you can view and manage Assigned Users.
For organizations with large teams, we're releasing bulk upload in mid-December 2025.
This will allow you to migrate your entire user base efficiently in one streamlined process.
We'll notify you as soon as the bulk upload is available so you can take full advantage of ABL with minimal administrative effort.
Step 3 (Optional): Revoke or Reassign Licenses
To free up a license, select the user and click Revoke.
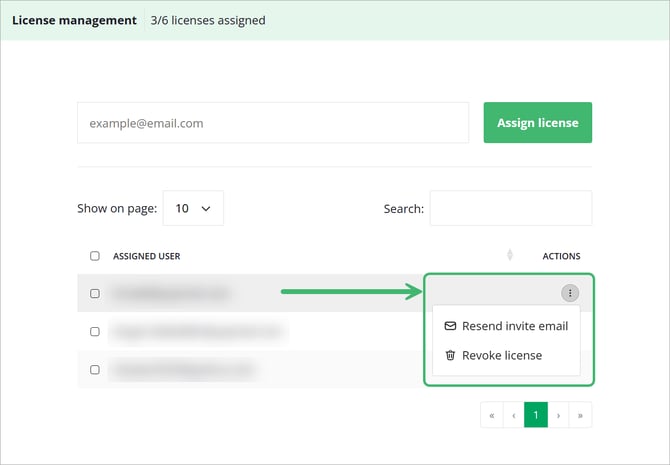
You can then assign that seat to another user from the same page.
You can also resend the invitation email from this menu.
Users
Step 1: Accept Your License
You’ll receive an email invitation from Office Timeline.
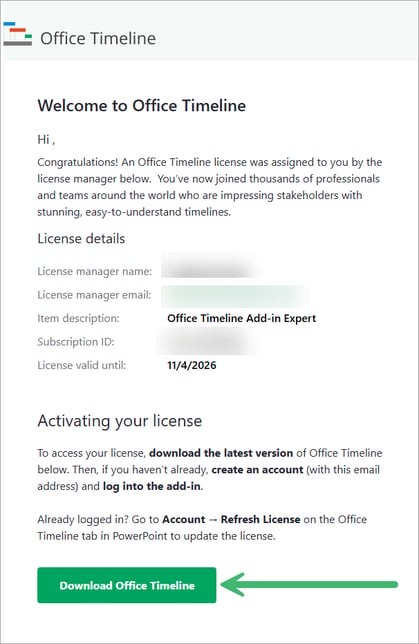
Step 2: Activate from the Add-in
Open PowerPoint, navigate to the Office Timeline tab, and click Sign In.
Use the same email address your admin assigned to you.

If you don’t yet have an account, click Create Account and follow the prompts.